4 x 4 vs. 5 x 7 Embroidery: Which Size Fits Your Projects?
Compare 4x4 and 5x7 embroidery fields with dimensional examples, true-size paper mockups, and checks for design fit, hoops, and rotation.
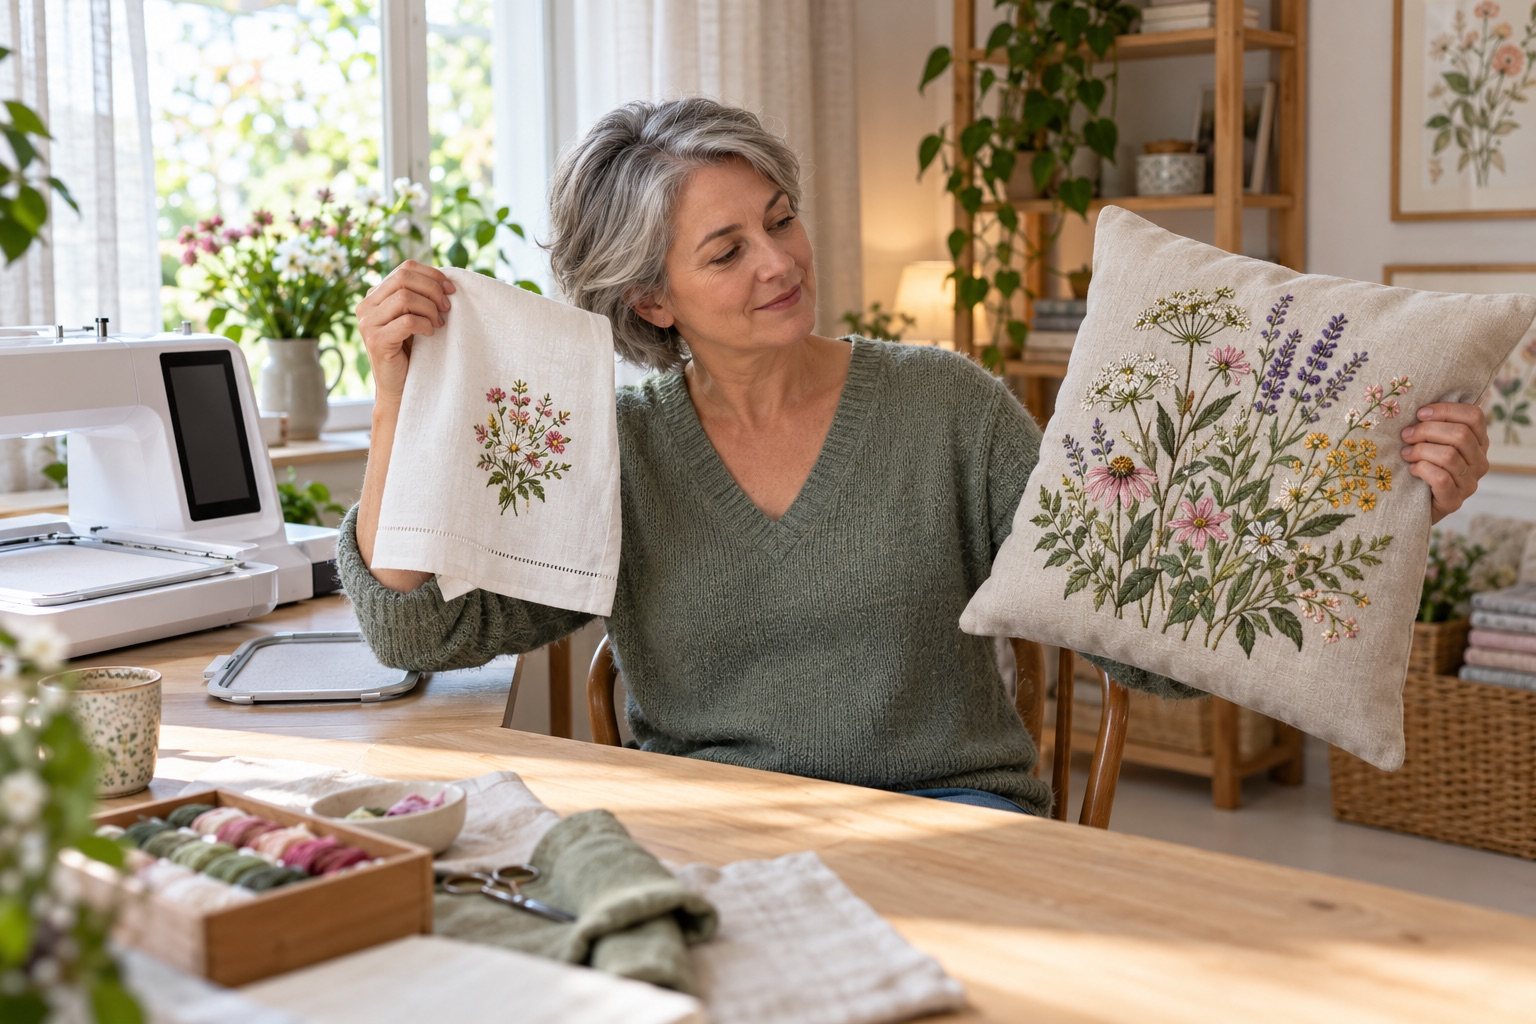
Four by four or five by seven? It sounds like a question about the machine, but it is really a question about your projects. A name on a pocket and a tote panel need very different room. Here is how to settle it with your own designs, a ruler and a sheet of paper, before you spend a cent.
Affiliate disclosureAs an Amazon Associate we earn from qualifying purchases made through links on this page. Commissions never change our ratings.
What 4 by 4 and 5 by 7 describe
In machine listings, these labels commonly describe the maximum embroidery area. Brother specifies a 4 by 4 inch maximum for the PE545 and a 5 by 7 inch maximum for the PE900. These examples establish the advertised field categories; they are not product rankings or evidence of checked stitch quality.[1][3]
Keep that field separate from the outer dimensions of the hoop and the machine's work area. Brother's SE700 page lists a 6.4 by 4.0 inch work area but a 4 by 4 inch maximum embroidery area.[2] The larger work-area number is not permission to load a wider design. Use the manufacturer's embroidery specification for the exact machine and frame.
For the simple geometry examples below, treat the labels as ideal rectangular fields with those dimensions. Actual acceptance must use the exact field documented for the model, in the same units as the design. Do not replace a manufacturer's millimeter specification with a rounded inch label when a design is near the limit.
Compare width and height, not just area
A nominal 4 by 4 rectangle has an area of 16 square inches; a nominal 5 by 7 rectangle has 35. Those figures describe geometry, but square inches alone cannot tell you whether a design fits. A design must fit along both axes in an allowed orientation. Extra room at the top cannot compensate for excessive width.
| Hypothetical design size | Nominal 4 by 4 field | Nominal 5 by 7 field |
|---|---|---|
| 3 by 3 inches | Fits dimensionally | Fits dimensionally |
| 4.5 by 6 inches | Does not fit | Fits dimensionally |
| 5.5 by 5.5 inches | Does not fit | Does not fit |
| 6 by 4 inches | Does not fit | Fits only after a permitted quarter-turn to 4 by 6 |
These are mathematical examples, not files checked on a machine. They assume a rectangle, ignore file-format restrictions, and do not verify a hoop attachment. Use the embroidery design fit calculator with a verified model field for your own dimensions, then follow the machine's preview and frame-check procedure.
Make a true-size mockup on paper
- Draw: Draw the desired design's bounding rectangle on paper using a physical ruler.
- Print at actual size: If you have design software that prints a template, select actual size rather than fit to page, then measure the printed result.
- Measure: Printer settings can change a layout, so a printout is not a reliable scale reference until you check it.
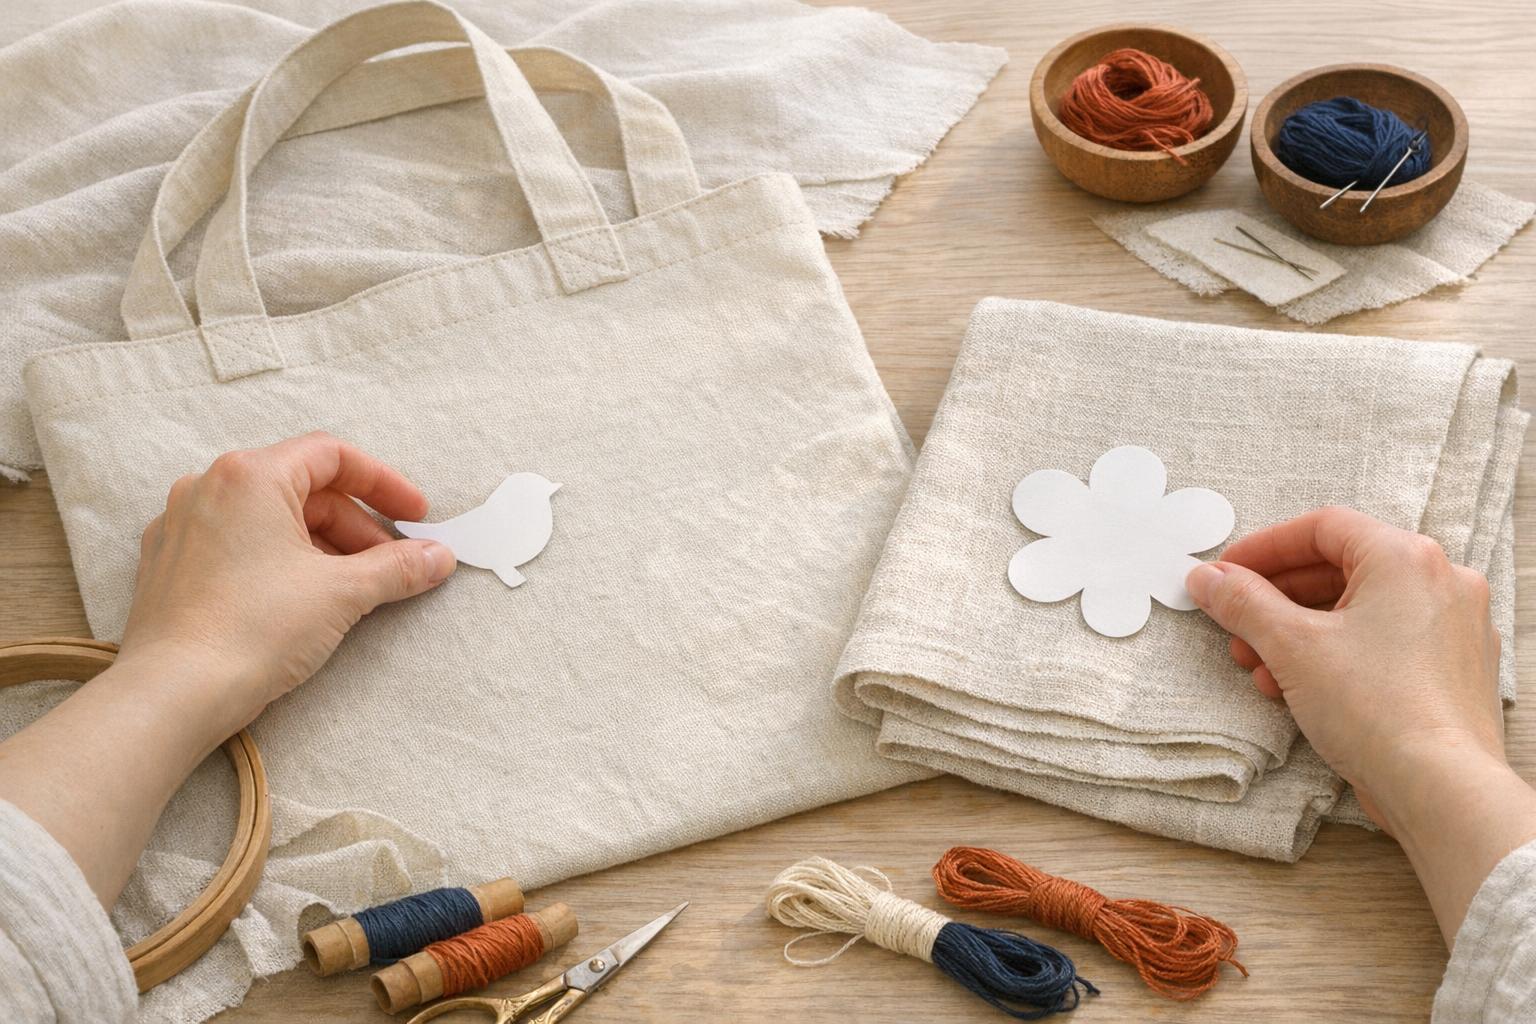
Cut out the rectangle or trace the motif within it. Put it on the actual blank, not a photograph of a similar blank. Fold the towel as you expect it to be displayed. Lay the shirt as it would sit when worn. Place the tote's handles out of the way and consider where its seams interrupt the available surface.
Try the same intended motif in a smaller and a larger paper version. This exercise is about visual preference, not permission to resize the embroidery file. You may decide the smaller design looks better, or that the larger size is central to the project. Either result gives you a more concrete buying requirement than "room to grow."
For more on this topic, see our embroidery file formats and design transfer.
Screen illustrations are not true-size templates. Browser zoom, phone dimensions, and image scaling change their displayed size. Use measured paper for the scale decision. Conceptual images can suggest a layout, but should never substitute for a ruler or the dimensions reported by the embroidery file.
Should I compare the same design at two sizes or compare two different designs? To judge the field-size tradeoff, start with the same intended motif in measured paper versions. If the larger version is essential, then verify a stitch file supplied for that size. Changing the paper scale is a visual planning step, not approval to resize embroidery data.
When a 4 by 4 field makes sense
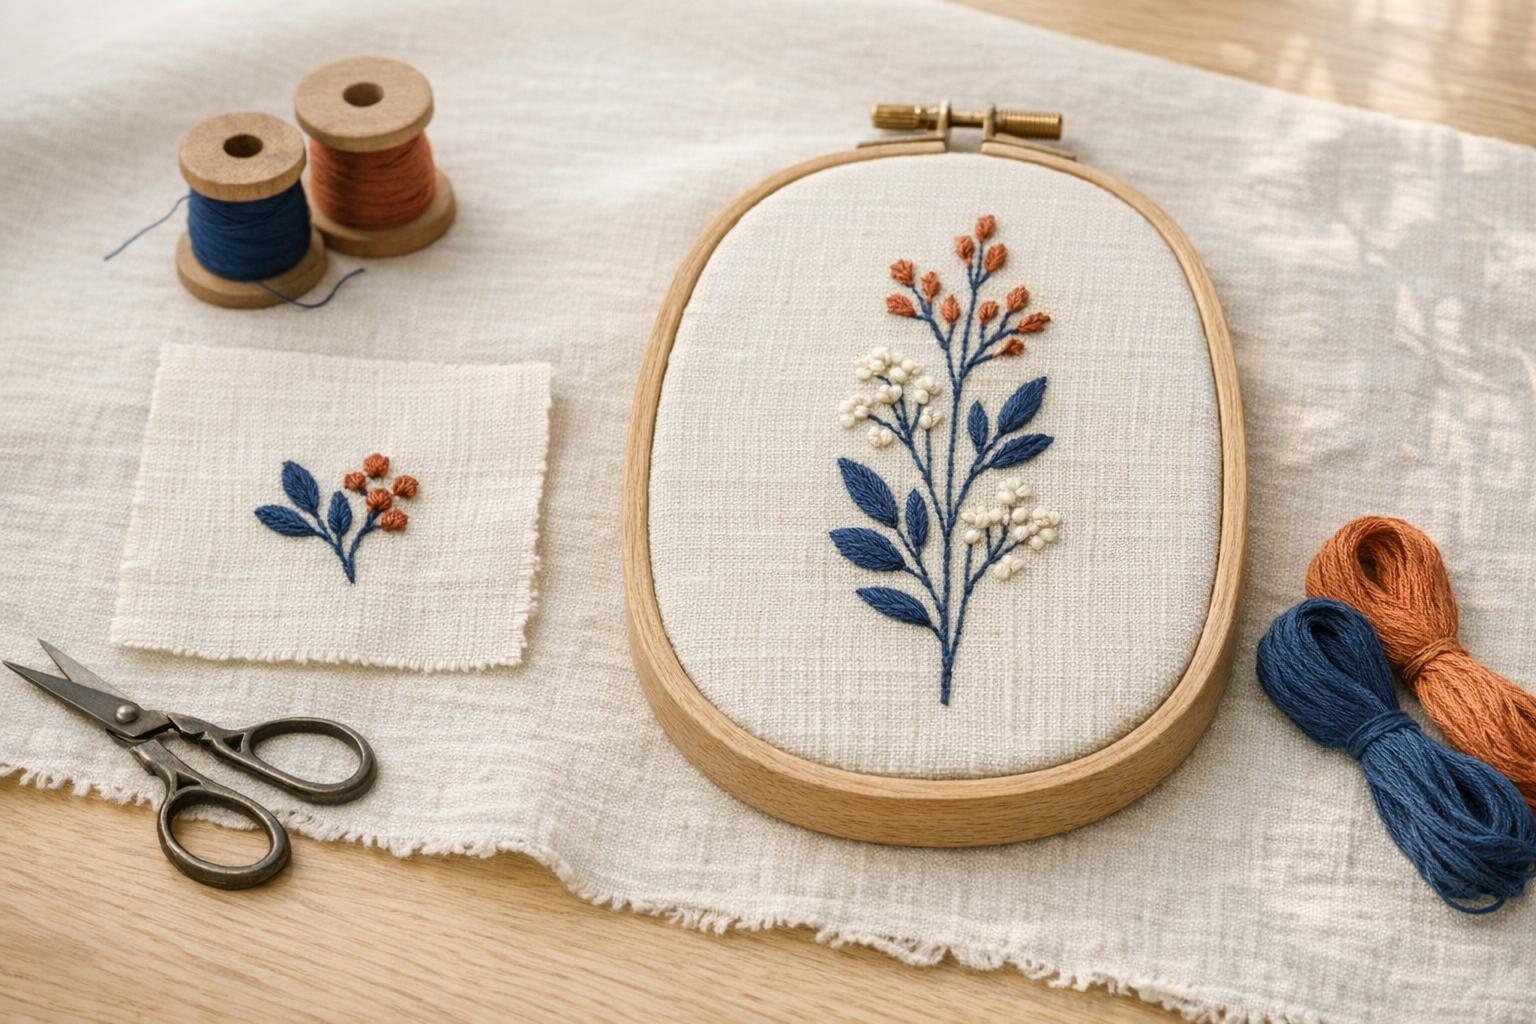
A smaller field is worth considering when your chosen designs already fit it at the intended stitched size. Examples might include individual small motifs, compact initials, or a modest accent on a fabric panel. Check each file instead of assuming that all monograms or all pocket decorations belong to the same size category.
Make a short design inventory before shopping. Record the design name, original dimensions, intended blank, and whether additional lettering is planned. If every essential project fits comfortably within the candidate's documented field, a larger field is an option rather than a requirement. You can then compare other features without letting size dominate the decision.
Be honest about the projects that do not fit. If the entire reason for buying is a tall floral arrangement on a bag, replacing it with a tiny flower may feel like a compromise every time you use the machine. A smaller machine is not automatically the better beginner choice simply because its field is smaller.
When a 5 by 7 field is worth investigating
A larger field earns its place when a desired design exceeds the smaller field but fits the larger one. This might be a taller motif, a wider composition after permitted rotation, or a design with a name below it. Check the complete composition, not each element separately.
The wider choice also deserves attention if your existing design inventory repeatedly falls outside a smaller field. Count those projects rather than imagining an unlimited future collection. Separate must-have projects from occasional wishes. That keeps the comparison focused on your likely use instead of buying capacity solely because it exists.
A 5 by 7 category still has limits. A square design wider than the narrower field dimension may fail even when its total area is less than the field's area. Large jacket-back artwork and long border arrangements should therefore be checked as their own projects, not assumed to fit because the machine is described as larger.
A larger hoop is not a blanket upgrade
Do not buy an oversized accessory expecting it to override the machine's maximum embroidery field. Require documentation describing the exact frame, compatible model, and intended workflow. A frame advertised by its physical size may involve positioning or multiple sections rather than one uninterrupted design of that size.
Brother's support guidance explains that an incorrect-hoop or larger-hoop message can appear when the selected pattern exceeds the area of the attached hoop. It tells the user to verify pattern fit.[4] That warning is a reason to investigate the mismatch, not to force a hoop or bypass the machine's checks.
If you intend to use a repositioning method, learn its requirements before counting it as part of the buying decision. Ask whether the design must be prepared in sections, how alignment is handled, and what software is needed. Treat the extra steps as a separate workflow to evaluate rather than a free extension of a smaller field.
Do not solve every fit problem by shrinking
Changing dimensions in an embroidery workflow is not the same shopping decision as choosing a smaller printed picture. Before resizing, read the design seller's guidance and the editing tool's instructions. Ask whether the tool recalculates stitches or merely changes their positions, and stay within whatever limits the relevant documentation gives.
A safer buying comparison uses each design at its supplied size. If a seller provides multiple sizes, check the dimensions of each included file. Two files sharing the same artwork may have different project requirements. A size mentioned in the product title should not replace the dimensions recorded for the particular file you intend to use.
Include supplies and handling in the comparison
List the included frame and any additional approved frames you expect to use. Then check the stabilizer and fabric dimensions needed to prepare the project according to the manual. The stitch field does not describe how much material must extend beyond the design for holding and positioning.
Also consider the physical blank. A paper motif can fit on the front of a bag while the assembled bag remains awkward to position. Before purchasing for a specific finished item, ask a dealer or the manufacturer to confirm the intended setup. Frame dimensions alone do not establish access to a pocket, sleeve, or narrow opening.
A practical buying rule
Choose the smallest verified field that accommodates the projects you genuinely want at their intended sizes, while considering whether a documented larger field solves a recurring limitation. That is an editorial buying rule, not a claim that one size produces better embroidery. Your preferred transfer method and overall machine type still need separate checks.
| Question | 4 by 4 field | 5 by 7 field |
|---|---|---|
| Typical projects named in this guide | Individual small motifs, compact initials, a modest accent on a fabric panel | A taller motif, a wider composition after permitted rotation, a design with a name below it |
| When it is enough or worth investigating | Every essential project fits comfortably within the documented field | A desired design exceeds the smaller field but fits the larger one |
| Example listed by Brother | PE545: 4 by 4 inch maximum embroidery area | PE900: 5 by 7 inch maximum embroidery area |
| Limit to remember | A smaller machine is not automatically the better beginner choice | Jacket-back artwork and long borders must still be checked as their own projects |
Keep the paper mockups and dimension inventory with your shortlist. Read embroidery hoop sizes explained if a listing mixes outer size and stitch field. When your projects call for the larger category, use the 5 by 7 embroidery machine comparison to investigate documented options rather than choosing from the size label alone.
For a shared household machine, have each person contribute an actual intended design to the inventory. Someone interested in small initials may be satisfied by a field that excludes another person's preferred botanical panels. Keep the desired stitched size beside each entry and mark whether a smaller supplied version would still be acceptable. This prevents a purchase from meeting one person's needs while silently excluding the other's projects. If the larger category remains outside the available budget, keep the excluded projects on the worksheet and decide explicitly whether to postpone them, outsource them, or postpone the machine purchase.
How should two users agree on a shared embroidery field? Each user should contribute an essential design with its intended stitched dimensions. Compare both lists against the same documented field and explicitly mark any excluded projects. Agree whether those exclusions are acceptable before treating the smaller machine as sufficient.
Tempted to skip the field question and jump to a multi-needle machine for bigger designs? More needles mean fewer colour changes, not a bigger field. Our single-needle vs multi-needle embroidery machine guide explains when the extra needles pay off.
Our rated picks
The three best-rated models of our best 5x7 embroidery machines ranking, from buyer reviews and the listed specs.

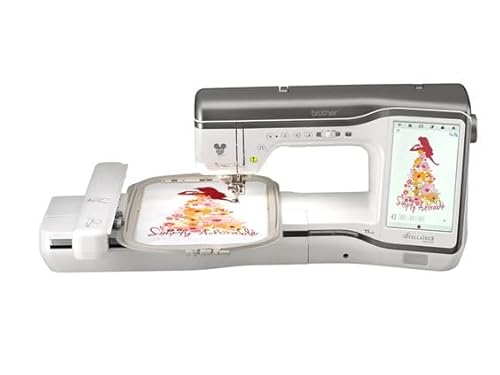

Product images: Amazon listings
Sources and further reading
- Brother PE545 product specifications (manufacturer documentation)
- Brother SE700 product specifications (manufacturer documentation)
- Brother PE900 product specifications (manufacturer documentation)
- Brother: Incorrect hoop attached or use a larger embroidery hoop (manufacturer documentation)