Embroidery Machine vs. Sewing Machine: Which Do You Need?
Choose sewing, embroidery-only, or a combination machine by your projects, design size, workspace, and the supplies needed to get started.
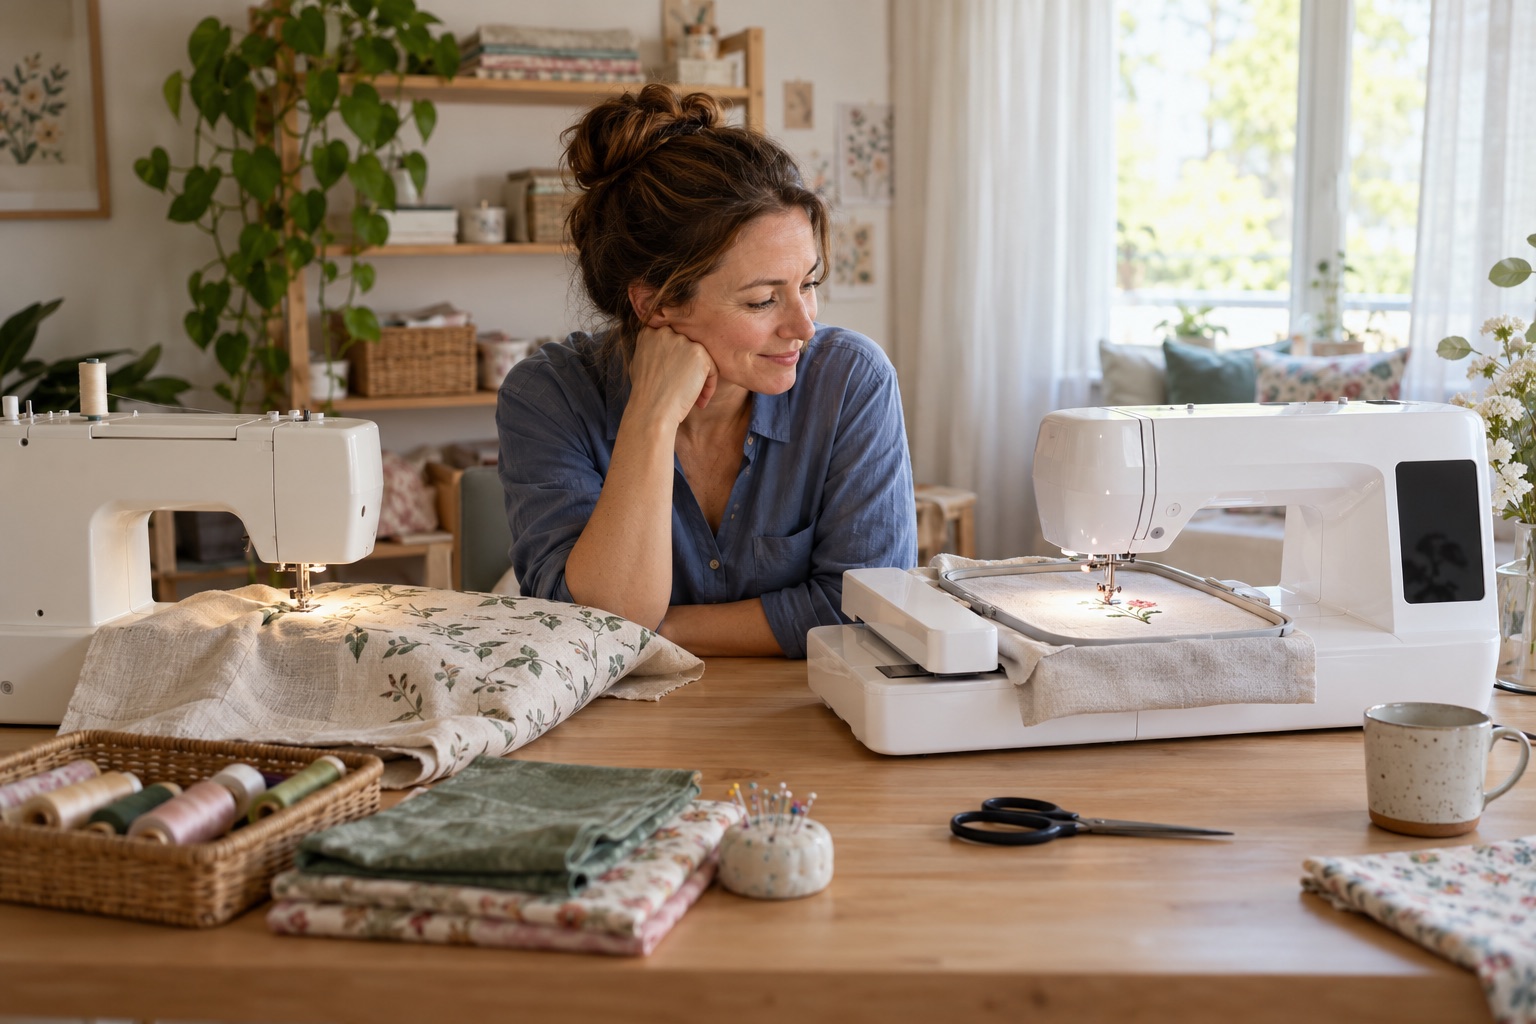
They look alike on the table, but one stitches pictures and the other sews seams. Before you buy one, two or a combo, here is what each machine really does, what a combo trades away, and which one fits the projects you have in mind.
Affiliate disclosureAs an Amazon Associate we earn from qualifying purchases made through links on this page. Commissions never change our ratings.
What the three machine types do
Sewing machines: construction comes first
For this buying decision, think of sewing as joining, repairing, and finishing fabric. Look for the actual stitches and accessories your projects need: a suitable seam stitch, an appropriate buttonhole method if you make garments, and feet that support your intended work. Decorative sewing stitches can be useful, but do not treat a long stitch menu as evidence that a machine can load computerized embroidery designs.
Some sewists also create decorative work through free-motion techniques. That is a separate skill and setup to investigate in the machine manual. It should not be confused with selecting a digitized design and having an embroidery unit move the hooped fabric. If your goal is repeatable file-based lettering, require an explicit embroidery specification.
Embroidery machines: check the stated embroidery field
An embroidery-focused listing should state its maximum embroidery area, supported designs, and transfer options. For example, Brother identifies the PE545 as an embroidery machine and specifies a maximum embroidery area of 4 by 4 inches. Those are manufacturer specifications.[1]
If you already have a sewing machine you like, a separate embroidery machine is worth considering. You avoid replacing a useful tool merely to add a different capability. Before deciding, account for the second machine's storage, working space, and supplies. Owning two machines is helpful only if your room and routine can accommodate them.
Combination machines: two feature lists to read
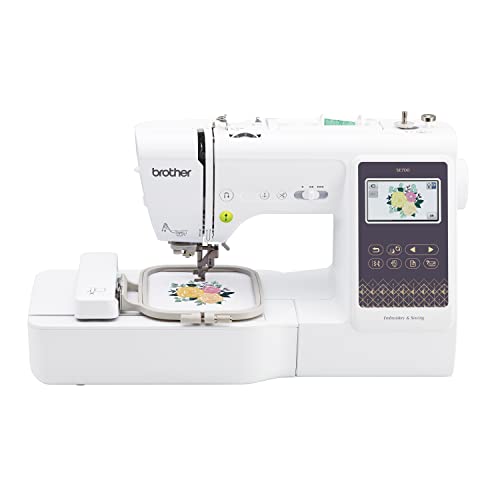
Brother describes the SE700 as a sewing and embroidery machine, with 103 built-in sewing stitches, 135 built-in embroidery designs, and a maximum embroidery area of 4 by 4 inches. The separate counts illustrate why sewing stitches and embroidery designs should not be compared as one number.[2]
A combination machine can suit someone who needs both functions but wants one main machine on the table. Read its manual's changeover procedure before buying. Ask what must be attached, removed, selected, or stored between modes. Do not assume that combining functions removes setup work, or that the machine can sew one project while embroidering another.
| Machine type | Main job | What to check |
|---|---|---|
| Sewing machine | Joining, repairing, and finishing fabric | The actual stitches and accessories your projects need |
| Embroidery machine | Repeatable decorative designs from embroidery files | Maximum embroidery area, supported designs, and transfer options |
| Combination machine | Both jobs on one main machine | Sewing features and embroidery limits separately, plus the changeover procedure |
Does one combination machine let two people sew and embroider at the same time? Do not plan two simultaneous projects around one combination machine. The Brother SE700 combines sewing and embroidery functions, but the category does not imply independent workstations; check the changeover procedure before deciding that one machine meets a shared household routine. Reference: Brother SE700 specifications.
One more type you'll meet while shopping: the multi-needle embroidery machine, built for repeat orders and caps. It embroiders only and changes colours by itself. Our single-needle vs multi-needle guide shows who really needs one.
A decision tree based on your next projects
Write down several projects you would genuinely start, including at least one ordinary task rather than only ambitious gifts. Then work through these questions in order:
- Do you need to join fabric, repair garments, or construct the blank? If yes, include sewing capability somewhere in your setup.
- Do you need computerized decorative designs or lettering? If yes, include documented embroidery capability.
- Do you already own a machine that handles the sewing work satisfactorily? If yes, compare adding embroidery-only equipment against replacing it with a combination machine.
- Will your chosen designs fit the candidate's verified embroidery field? If not, remove that candidate unless you are willing to change the projects.
- Can you manage the required workspace and changeover routine? If not, revisit the category before comparing convenience features.
A person hemming jeans and making curtains should prioritize sewing requirements. Someone decorating purchased napkins can focus on embroidery, while still checking whether the napkins can be positioned in the intended hoop. A person constructing personalized zipper pouches needs both processes, whether that means one combination machine or separate machines.
These are planning examples, not guarantees that every machine in a category can handle those materials. Fabric thickness, access to the stitching location, the specific design, and the approved accessories still matter. A product photo showing a project is a reason to investigate its setup, not proof that your version will work.
Decide embroidery size before convenience features
A design library can be large while the embroidery field remains small. Brother's PE545 page gives a 4 by 4 inch maximum, while its PE900 page gives a 5 by 7 inch maximum. This is a documented difference in field size; it does not establish that either machine is the right purchase for you.[1][3]
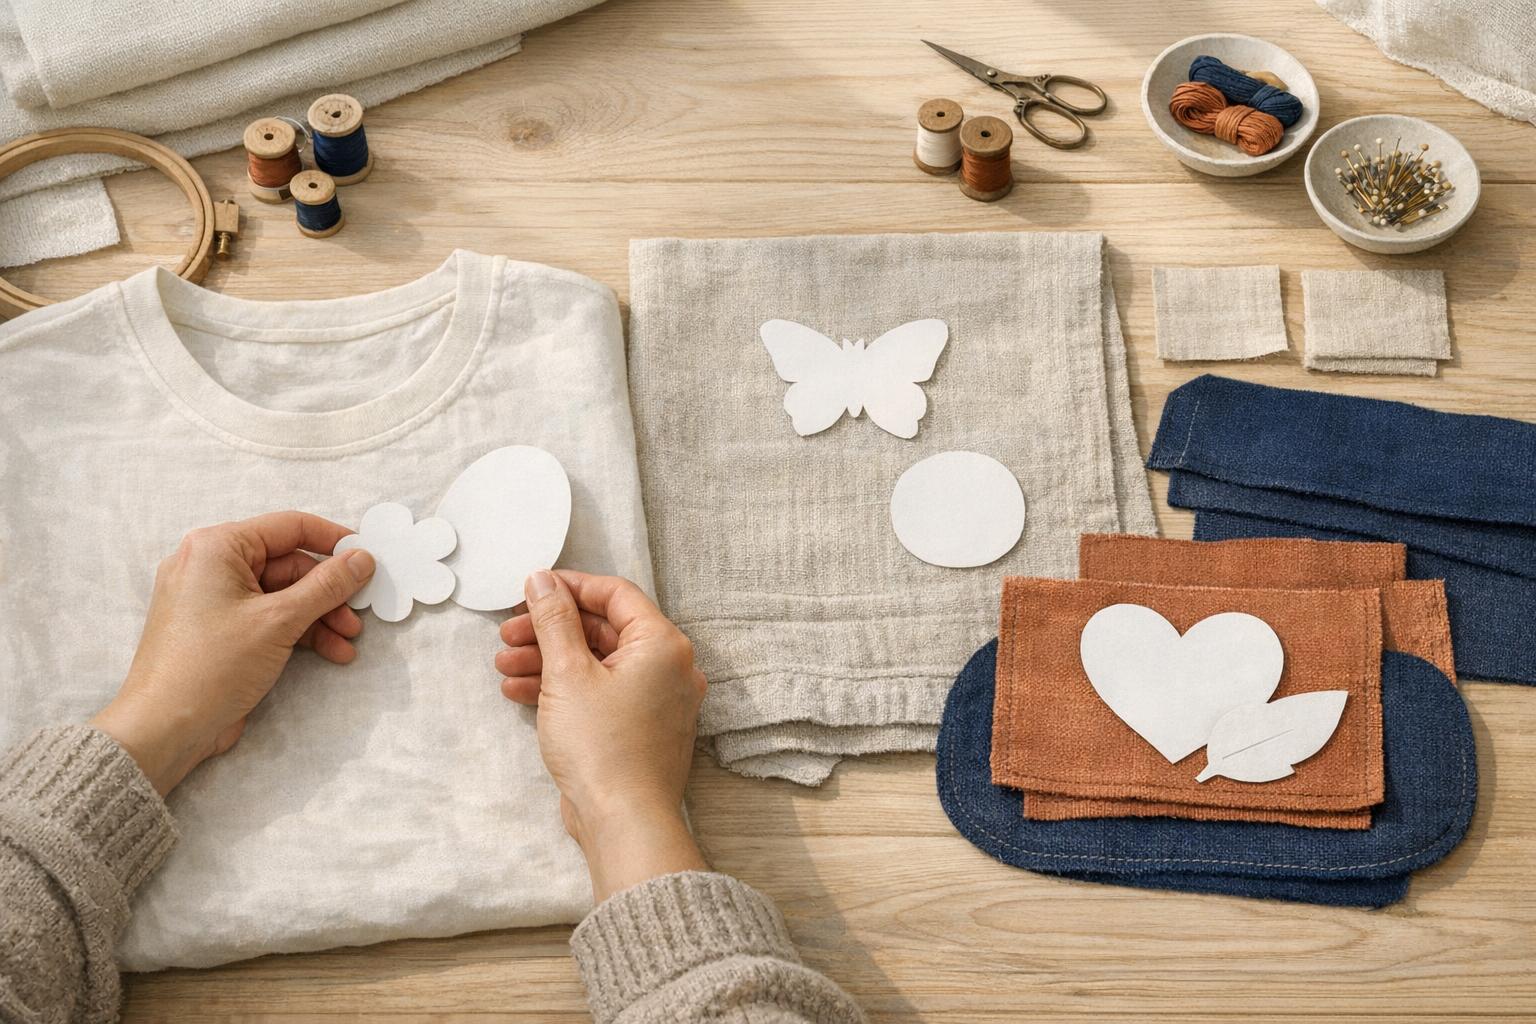
Choose a few actual design files or dimensioned listings and record their finished embroidery width and height. Include borders and lettering. A little flower and the same flower above a long name may demand different fields. If you have not selected designs yet, cut paper shapes at the intended finished dimensions and place them on your blanks.
Do not infer embroidery capacity from the space beside the needle. Brother lists the SE700's work area separately from its maximum embroidery area, which is a useful reminder that these measurements describe different things.[2] Use the embroidery design fit calculator for a dimension check, then confirm the exact frame and machine requirements in the manual.
Exclude the wrong machines early
Remove any listing that leaves your essential function unclear. "Computerized" alone does not answer whether the machine supports embroidery files. "Large workspace" does not answer whether your design fits. "Many accessories" does not identify which hoops are included or which ones are approved for that model.
For an embroidery purchase, request the exact model identifier and its official documentation. Confirm the maximum field, included hoop, supported file types, and transfer workflow. For a sewing purchase, confirm the stitches and accessories your construction tasks require. For a combination purchase, do both checks instead of accepting a broad promise of versatility.
Also exclude a workflow you cannot use. Brother describes PC transfer through Design Database Transfer and wireless features on the PE545 and SE700 product pages.[1][2] That does not mean every computer, phone, network, or file will work without further checks. Read the software requirements and any app conditions for the exact workflow you intend to use.
What evidence should I request if a listing only says computerized? Ask for the exact model manual and a documented route for loading embroidery designs. A computerized sewing control is not proof of file-based embroidery. Keep the candidate off an embroidery shortlist until its field, file support, and transfer method are identified.
Budget for the first finished project
Make a shopping worksheet with separate lines for the machine and everything needed to complete your first project. Do not start with a huge accessory bundle. Begin with the manual's requirements and the design's instructions, then mark each item as included, already owned, or still needed.
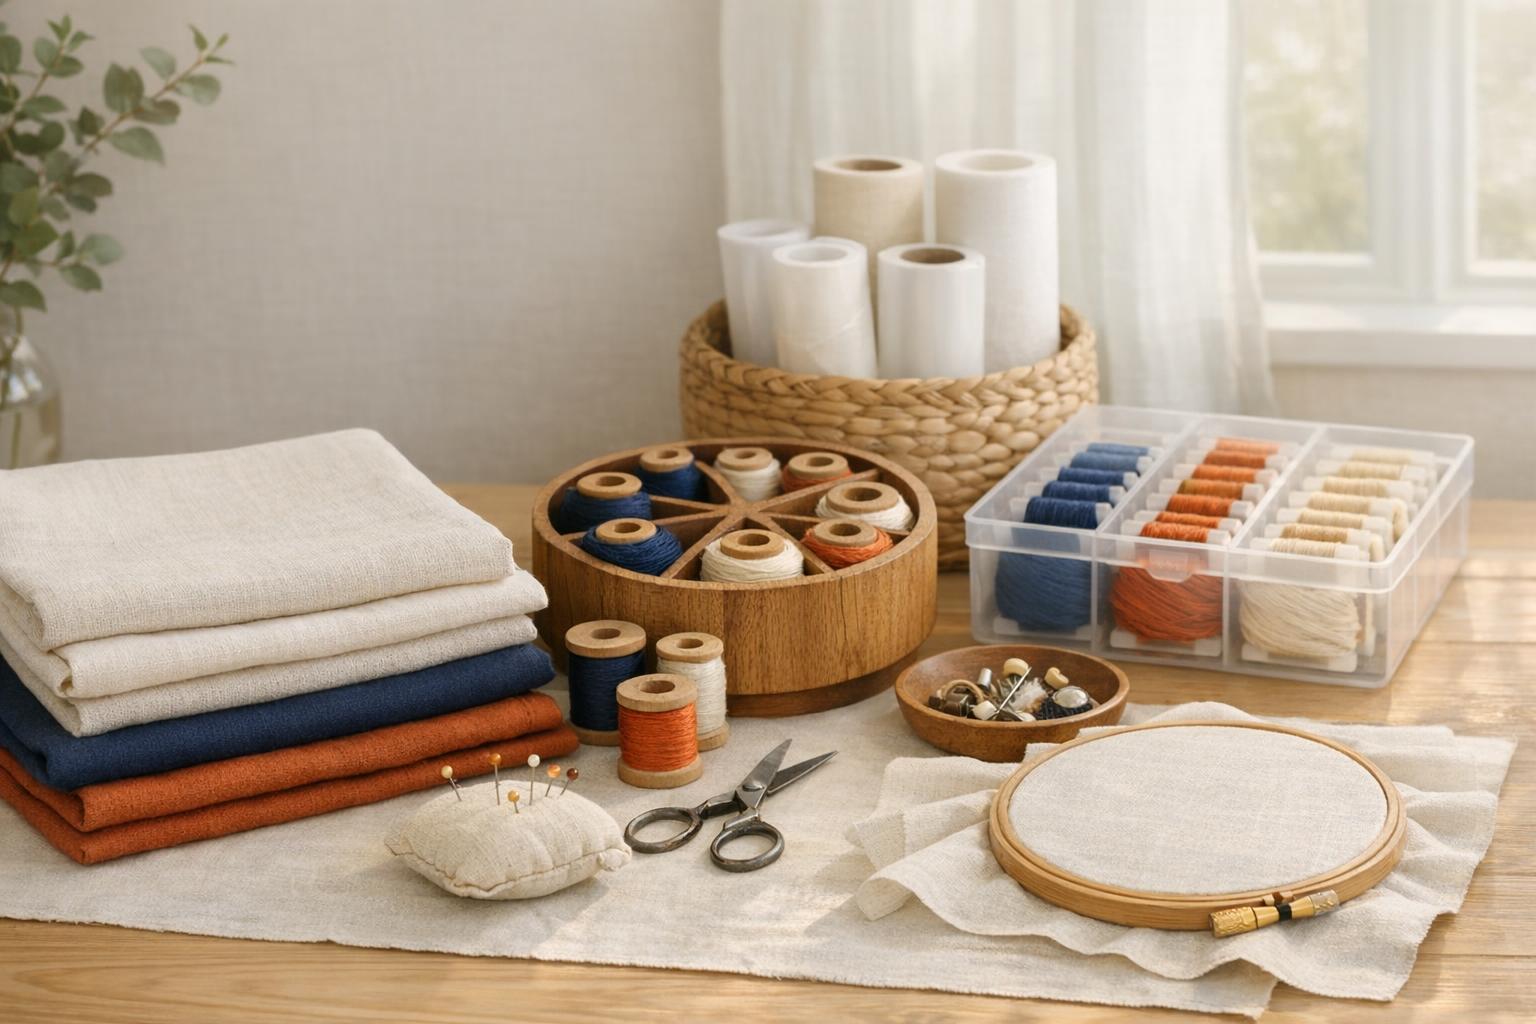
- For embroidery, check the approved hoop, needles, bobbins, upper thread, bobbin thread, suitable stabilizer, and practice fabric.
- For sewing, check the required presser feet, needles, thread, cutting tools, and the materials for construction.
- For either setup, account for a stable work surface, usable lighting, storage, and access to support or service.
- For custom designs, distinguish buying a ready-to-stitch file from paying for digitizing or purchasing software to learn it yourself.
Stabilizer deserves its own budget line. Sulky's selection tool asks for both technique and fabric and explicitly recommends checking first.[5] That is a better basis for shopping than assuming one roll will suit every towel, knit shirt, and decorative panel. Buy for the project in front of you and keep enough material for a representative check.
Software is another place to avoid assumptions. A built-in design may let you begin without purchasing a digitizing program, while creating a new design from artwork is a different job. Before paying for software, define the task: organizing files, transferring them, editing lettering, or creating stitch instructions. Then verify that the proposed software performs that task on your computer.
Compare the working routine, not just the brochure
Ask a dealer to explain the full sequence for your project: preparing the file, fitting the hoop, setting up the materials, starting embroidery, and finishing the back. If you are considering a combination machine, ask to see the transition back to ordinary sewing. Take notes about steps you would need to repeat at home.
Measure the intended table and consider where the project and embroidery unit will go during use and storage. Keep the machine manual's clearance instructions separate from the cabinet's footprint. A machine that fits on a shelf may still need a different arrangement while operating. Do not purchase a cabinet based only on the machine's packed dimensions.
Support matters most when it addresses a specific question. Ask where to obtain the manual, which accessories the seller can document as compatible, and how service is arranged. Avoid turning vague assurances about ease of use into a buying criterion. A clear explanation of your exact setup is more useful than a general promise that beginners love it.
Make the category choice, then build a shortlist
If construction is your only goal, compare sewing machines against your fabric and stitch requirements. If embroidery is your only missing capability, compare embroidery machines against your design dimensions and transfer needs. If you need both and prefer one main machine, investigate combinations with equal attention to both modes.
Our beginner embroidery machine comparison is the next step for an embroidery-focused shortlist. Use the sewing and embroidery combination comparison when both functions belong in your plan. Keep your project worksheet beside either comparison. A candidate earns a place by meeting your requirements, not by having the longest feature list.
Before ordering, ask the seller to put any unresolved requirements in writing. If an accessory is essential, request its part number and compatibility reference. If a transfer method is essential, identify the software and supported device you will use. If sewing and embroidery are both essential, confirm which parts are included for each mode. Save those answers with the model identifier rather than relying on a conversation about a similar machine. An unanswered requirement should stay visible on your worksheet until you resolve it; do not quietly turn it into an assumed feature because the rest of the listing looks appealing.
Our rated picks
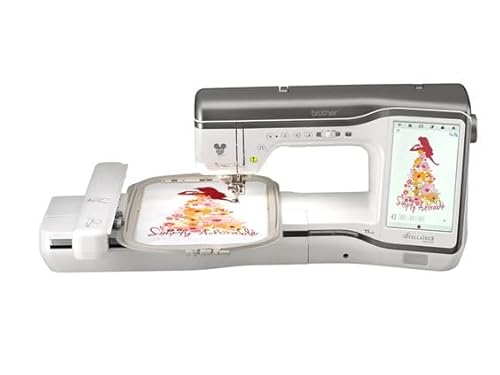
The three best-rated models of our best sewing and embroidery machines ranking, from buyer reviews and the listed specs.

Product images: Amazon listings
Sources and further reading
- Brother PE545 product specifications (manufacturer documentation)
- Brother SE700 product specifications (manufacturer documentation)
- Brother PE900 product specifications (manufacturer documentation)
- Sulky Stabilizer Selection Tool (manufacturer documentation)